Feel like you’re living in a sauna but your thermostat isn’t displaying the right temperature? Does it seem to be stuck in one setting, making your home too hot or cold? If so, then don’t panic. Troubleshooting your thermostat can be an easy and effective first step when trying to determine what might be going on with its performance.
In this blog post, we will provide five simple yet powerful steps that may help you identify any underlying problems and quickly get your thermostat working again just how it should. You can also check this page to learn more about identifying if your thermostat is bad.
1. Check the thermostat’s power supply
When troubleshooting your thermostat, one of the most important things to check initially is the power supply. If your thermostat does not appear to be powering on, then the first thing you should verify is that it has a valid power source. Start by ensuring that any batteries or other external sources are securely in place and, if needed, replace them with new ones.
You may also want to double-check all wiring connections and wall outlets as a secondary source of power. If these all seem to check out and you are still unable to get the thermostat powered up, it might be time to call in an HVAC professional for more specialized help.
2. Reset the thermostat
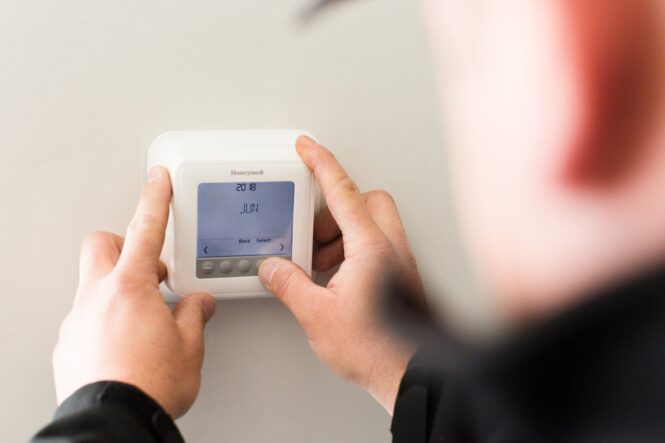
Resetting your thermostat can be a great place to start when troubleshooting because it can help to clear out any glitches or common problems caused by minor issues. In general, to reset your thermostat, simply find the circuit breaker for the unit and turn it off for 30 seconds. After 30 seconds have passed, turn the circuit breaker back on and wait a few more minutes for the thermostat to properly reset before trying to adjust anything.
Make sure you read all instructions that came with your specific model before resetting as many different types of thermostats require different steps. While resetting the thermostat may not solve all of your problems, it’s a good first step to take to ensure that everything is running smoothly and efficiently again.
3. Check the wiring to the thermostat
Checking the wiring of your thermostat is an important step in troubleshooting it. First, turn off the power to the thermostat at the circuit breaker. Then, remove the thermostat from its base and examine each wire for damage or signs of corrosion. If you find any damaged wires then they will need to be replaced. After checking each of the wires, carefully reattach them one by one to their correct connection and replace the thermostat on its base, tightening the screws securely.
Finally, switch on the power to the thermostat again and test it out to see if any issues have been resolved. Troubleshooting your thermostat can often take some time, so you must double-check all connections before moving on to other fixes.
4. Change the batteries in the thermostat
Changing the batteries in your thermostat is a simple step toward troubleshooting temperature issues. To do this, you need to first turn off the power to your HVAC system from the main breaker panel. Make sure all power is disconnected from your thermostat, then remove the cover with a flat-head screwdriver or one designed for HVAC use.
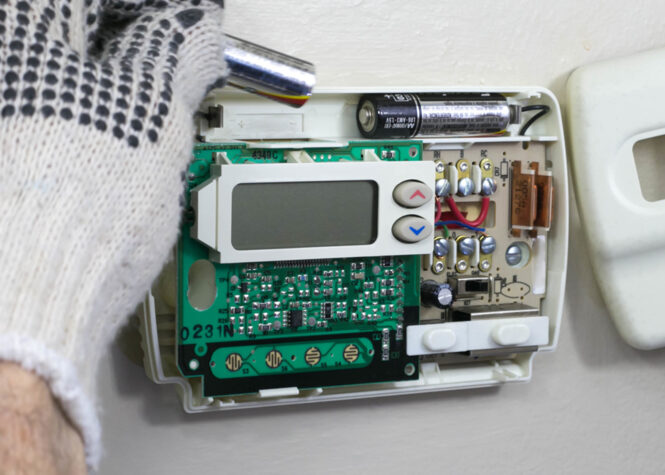
Once you find the battery compartment, swap out your old batteries with new ones and remember to dispose of them responsibly. Reattach the battery compartment and securely place it back on the wall.
Finally, turn back on your HVAC system at the main breaker panel, then test out your thermostat by setting it to different temperatures and waiting for a response in temperature changes in your home.
5. Call a professional if you’re still having problems with your thermostat
If you have attempted multiple troubleshooting tips and still find yourself dealing with inconsistencies in your thermostat, it may be time to call a professional. Professional technicians have the experience and skills to quickly assess the most likely issues and come up with solutions that will get your thermostat back in working order as soon as possible.
Furthermore, since all thermostats are different, a professional technician can provide key advice to ensure your thermostat is functioning optimally, valuing both your comfort and budget requirements.
Keep in mind that a properly functioning thermostat can save you on energy costs down the line, making the cost of calling an HVAC professional well worth it in the long run.
Tips to Keep it Working Properly
To keep it in good working order and prevent common problems, it is important to perform a few simple maintenance tasks. Once you understand how it works, you can more easily identify and troubleshoot any issues that arise.
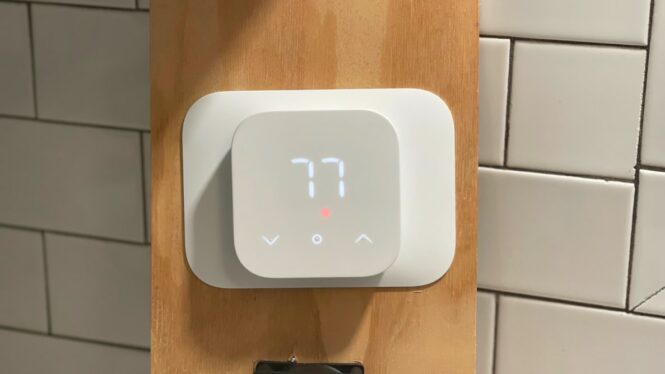
Here are some tips for keeping it functioning optimally:
- Replace the batteries annually. This will help keep it running properly and ensure accurate readings.
- Clean the dust off of internal parts once a year to ensure proper ventilation; otherwise, it can overheat and create inaccurate temperature readings.
- Check for loose connections between the wires and terminal boards at least once every season. Loose connections could lead to faulty readings or reduced performance of it.
- Inspect all wiring regularly for signs of damage or discoloration that could be related to an electrical issue or poor insulation within the walls.
- If you experienced a power outage recently, check to make sure nothing was damaged during the storm or surge; if something appears amiss, contact a licensed electrician right away.
- Consider upgrading to a smarter one that has WiFi capabilities so you can remotely control your home’s temperature settings as needed without having to physically adjust it each time you leave or come home.
Endnote
To reiterate, if you find yourself troubleshooting your thermostat regularly, it might be time to have a professional take a look at it. A qualified HVAC technician can help identify any potential issues and get your thermostat back up and running smoothly. In the meantime, following these simple tips should help keep your thermostat in good working order.
 Imagup General Magazine 2024
