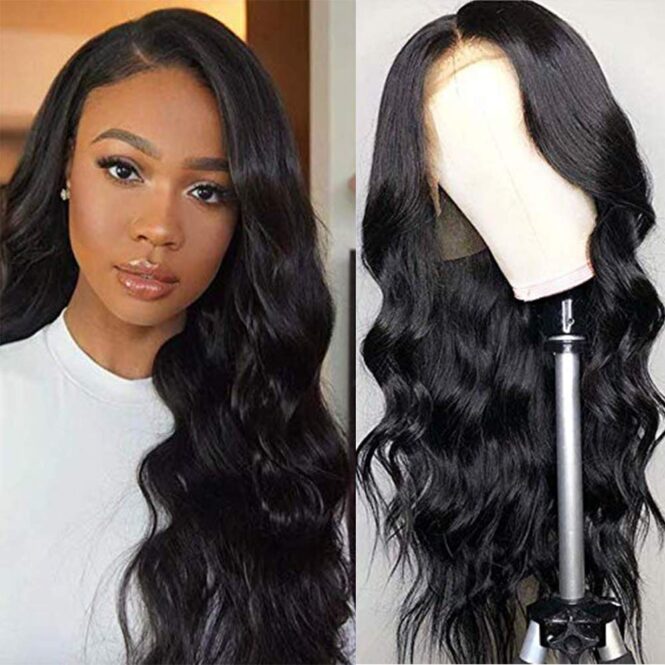
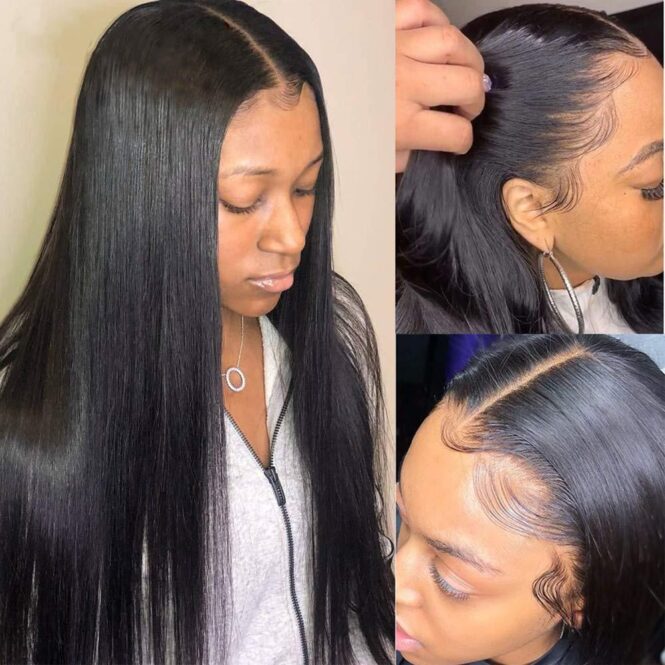
If this is your first time wanting and needing to wear a wig, you’ll need some help. Trust us; we know what we’re talking about. These days, there are many reasons why someone wants to try this out. It could be medical or fashionable; it all matters the same. The only important thing is to know how to do it properly. While having the desired look by using this method looks super easy, it is not going to be a piece of cake. Having a hairstyle of Beyonce or Taylor Swift for a day is a great thing, but before you achieve it, you need to put the wig first. You don’t want your natural hair to be seen underneath or that it fits sideways. Wearing a wig is all about looking perfect. That realistic look that will make everyone recognize your style immediately can be achieved only if you read what we have to say. In this article, the primary subject is: how to apply a hair wig?
Choose Your Wig Type

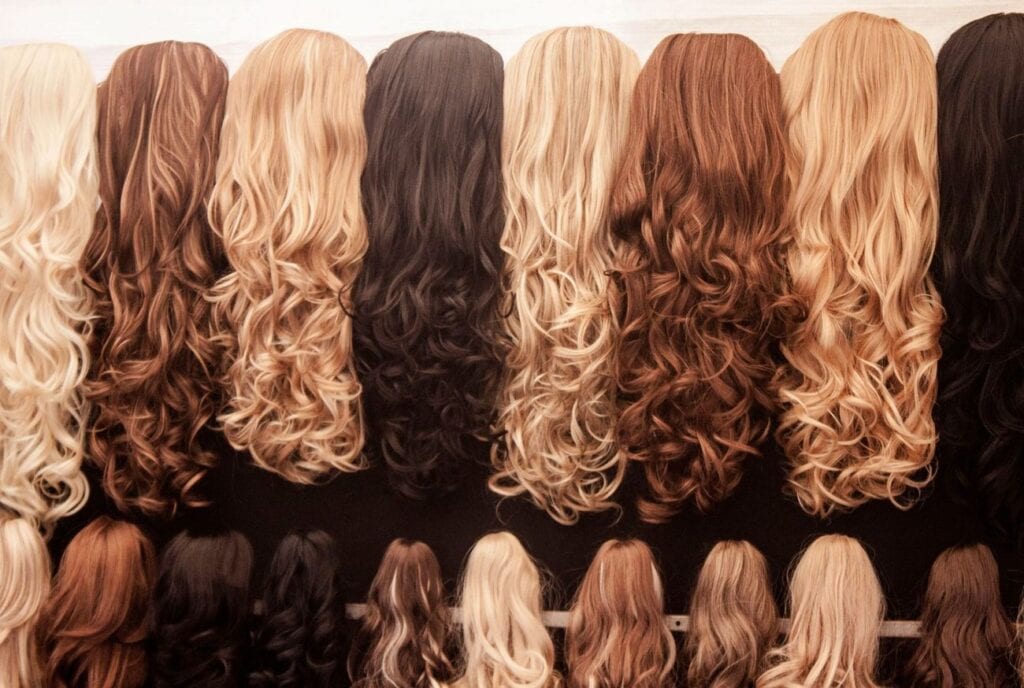
Let’s start from the beginning. The first thing you need to do is pick the wig that is the right fit. Not all wigs are the same. A protective wig serves its purpose, and it is easy to maintain, but what if this isn’t what you are looking for? Instead, maybe your preference is a high-maintenance wig, which is harder to take care of but also allows you to switch between hairstyles. Perhaps you want neither of these, but just one that comes with as much hair possible, adding that volume you never had or length, whatever you prefer. Once you settle on this decision, we can continue with the instructions. Not before this. Know your reasoning and pick the right wig for you.
Prepare Your Hair
Hair preparation is essential as you don’t want to have any bumps not only visible but also the ones you can feel under your fingers. Your original hair needs to be tight and tidy in order for the wig to fit your head the way it should be. It is not essential if you have long or short hair; all of it needs to be pulled back to ensure none is staying outside the wig. You don’t want anyone to notice you have the wig; this is the point of it all.
Skin Preparation

After the hair, there comes the skin. Your entire hairline on the edges needs to be wiped clean. This is to be done with a cotton pad, water, and alcohol solution. The reason why we’re doing this is that alcohol is going to wipe clean your skin of dead tissue and other impurities. Thanks to this, your wig will be easier to glue to your head. After you’ve done this, it is time to apply the scalp protector to your scalp. It can come in the form of cream, gel, or spray. The choice is all up to you. When you this, you’ll ensure that your skin is protected from irritations and damages. This is essential to do even if you are bald.
Put The Wig Cap On
Once again, you have a choice – a nylon wig cap that has the color of your skin or a net wig cap. It is essential to know that the net cap allows a little more air circulation, while the advantage of the other one is in its color that matches your skin. The best way to do this is to start from your forehead by perfectly lining the wig with your hairline. If you have hair, it is vital to make sure that every inch finds its way underneath the wig. You don’t want curious hairs outside for people to see them. If you don’t know how to do this, you can use bobby pins for maximum effect. Regardless of your hair length, having a wig cap underneath should be a must. The only time you can’t skip this is when you’re bald. Thanks to the cap, you have fewer chances of having your wig slip from your hair. It also helps to keep your natural hair inline.
Apply the Glue or Adhesive Tape

If you’re using wig glue, you can apply small portions of bond around your hairline by using a makeup brush. After doing this, you need to wait for a couple of minutes and let it dry. When the glue is no longer wet, you’ll know that it lied long enough. Instead of soaking, it would be sticky. If your option is adhesive tape, strips need to follow your hairline. If you’re using the tape with more strips, you need to leave the space between them. This is to be done because you need to leave the opening for sweat and moisture to come out. If you don’t leave this space, you risk the tape falling off due to the influence of sweat and humidity.
Prepare The Wig
Before having your wig on, you need to be sure that it’s prepared the right way. You don’t want wig hair to get caught up in glue or adhesive tape. Because of this, it is best to have wig hair tied in a ponytail. If you opted for a wig with short hair, be sure to clip the edge hair to the back. Before having the wig on, you don’t need to worry too much about styling. Leave it for later. Trust us; this is straightforward and goodhearted advice. If you want more of these, please give beautyforever a look.
Put The Wig On

Of course, this is the last station on our journey. This part needs to be done extra carefully to have the full and desired effect. The first thing you need to do is put your finger on the part of the wig, which will be in the center part of your head. After this is done, pull it to the back end of your head. You need to keep it away from the glue or the adhesive tapes, as you’ll want to have the corrections before making the final move. Once you position it perfectly, you can connect it to the adhesive material you’ve been using.
 Imagup General Magazine 2024


